The next tutorial make a simple house, now we will give our roofs, this stage is that the harder stages, but it is actually easy to
• The first step into view VIEW> LEFT, and create a plan of the roof as shown below with the polyline command and OFFSET

• coming into view SE ISOMETRIS

• Give the thickness of the roof under the roof above 3.15 and 3.7 with EXT command

• Move the roof top of the elevation (3.15,0,0) so the view VIEW> TOP just as the picture below

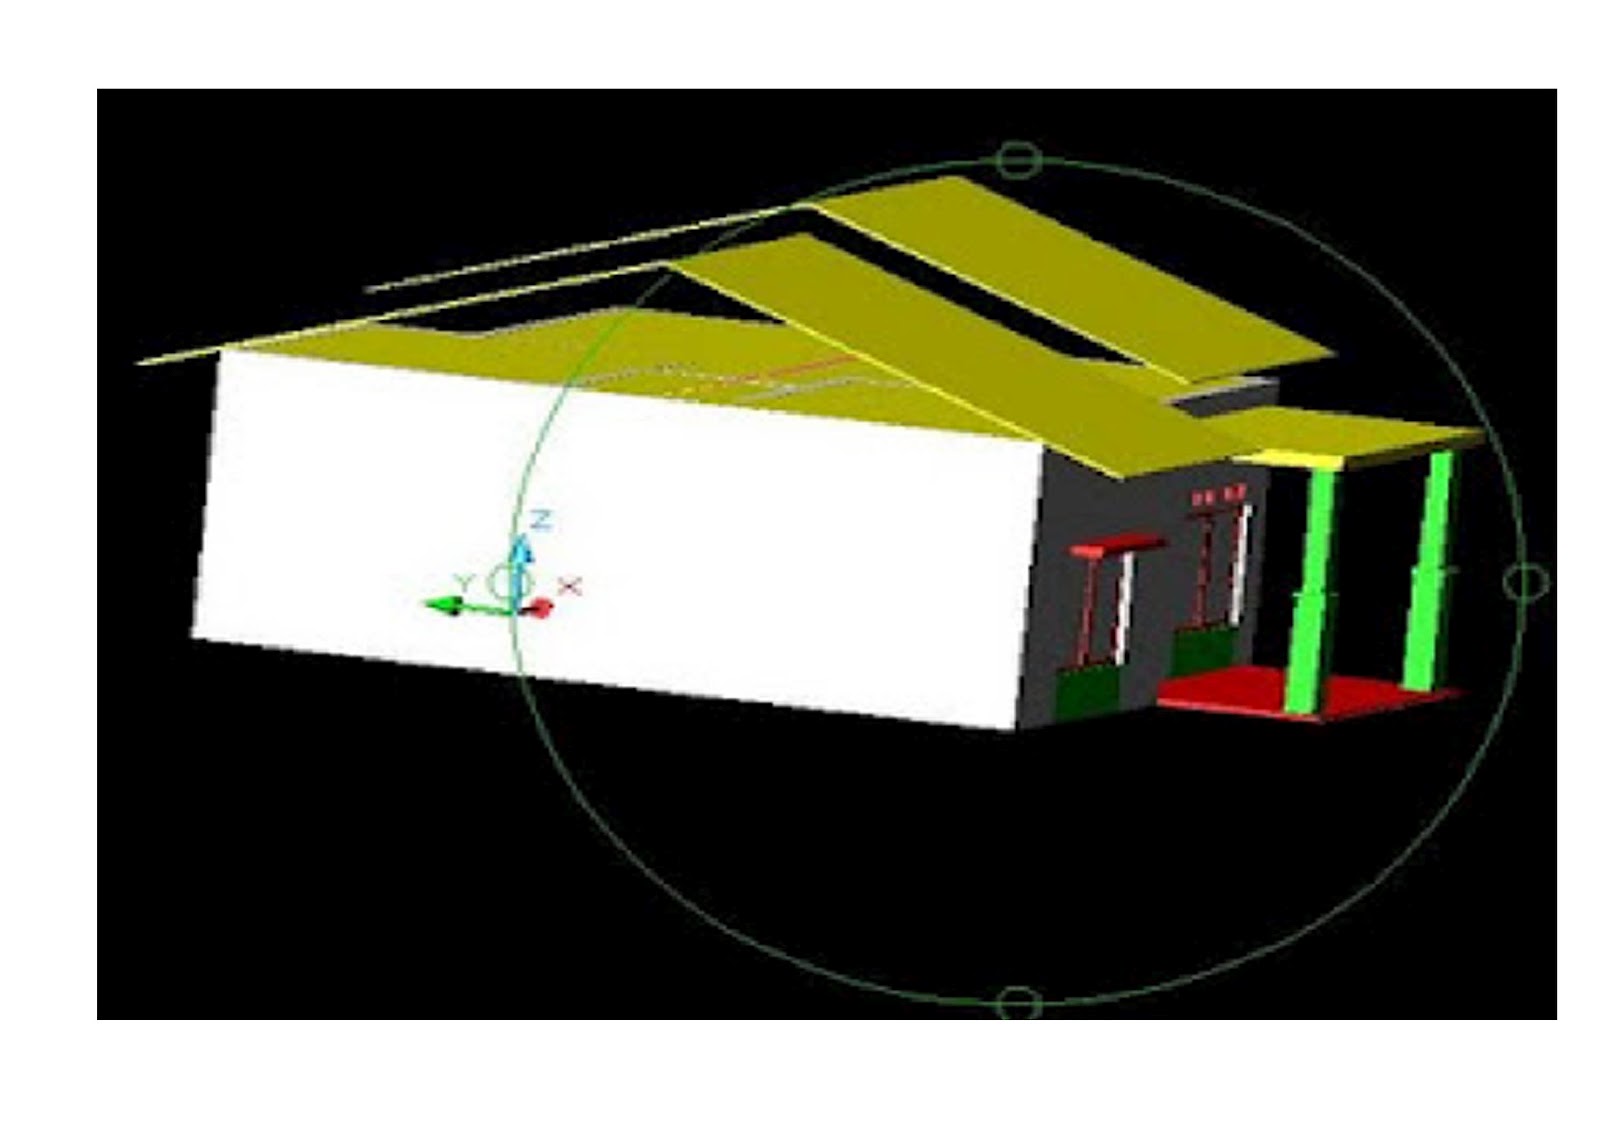
• Log in to view SHADE> FLADE SHADE and play with 3D ORBIT, now we see there is an empty space that we must close the
• Now go back into the view VIEW> LEFT, previous change becomes 2DWIREFRAME display, create a polyline triangular mountains

• Log in to view the SE ISOMETRIS and give the size of the wall thickness of the mountains of 00:15 with EXT command

• enter again to display TOP VIEW and create a square with the Rectangle 3.4x6.15 and OFFSET to 0.15 (in the size of the wall to the roof top)

• Log in to view the SE ISOMETRIS and give a thickness of 2 to EXT command, then cut out with square square inside the command Subtract

• Move the rectangle to positions as shown below

• coming into view VIEW> LEFT and create a field as shown below using the polyline (note the location of the position at the bottom over the top)

• At any given thickness ISOMETRIS SE 4 with EXT command (thickness must exceed the width of the roof)
• Well now cut the roof beyond the wall to the field we had a command extrude subtract

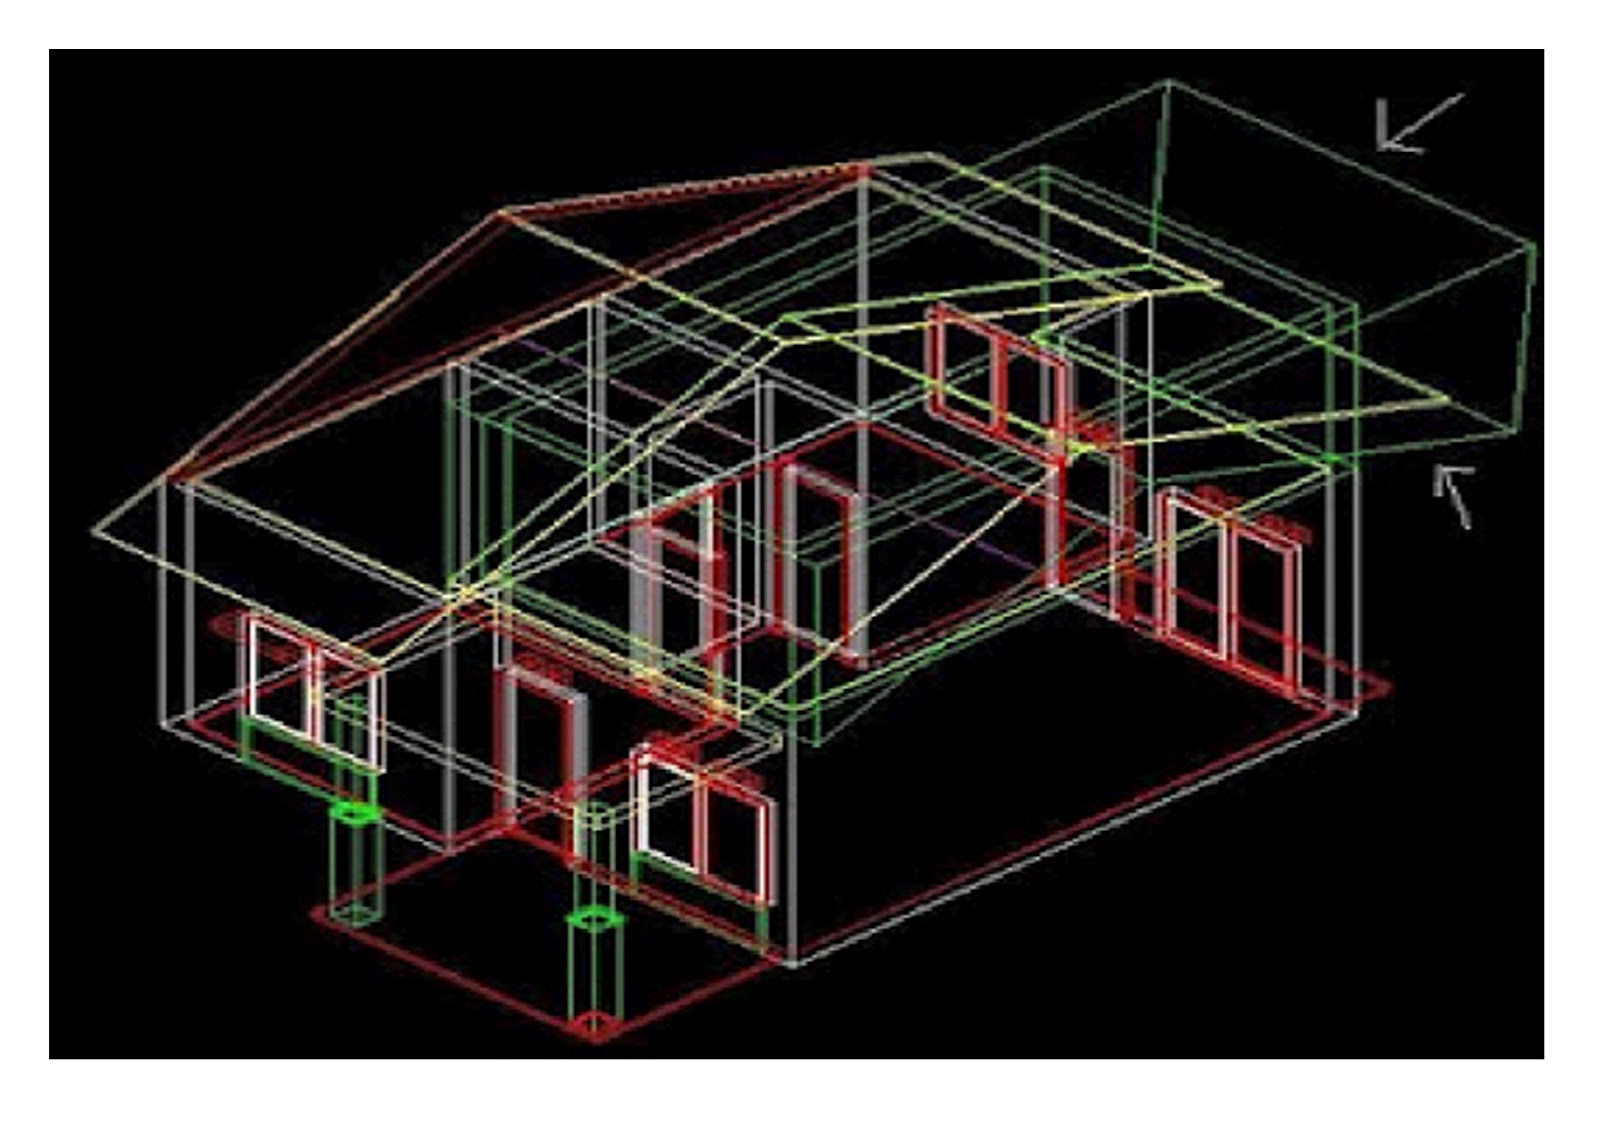
• Now we check our roof to add bagian2 are still lacking, go to VIEW> SHADE> FLADE SHADE and play with 3D rotate, we can have 2 parts that we need to improve


• rotate the 3d rotate to get the display as shown below, and by using the toolbar click on the red line and arrows were red berries thickness of 0.45

• So the results are as shown below

• for the triangular mound edge is still lacking, coming into view LEFT VIEW and create a triangle with polyline as shown below

• give the thickness of the wall thickness of the EXT command 0:15 with the results as shown below

(If you do not fit the triangle position, set the MOVE command to match the position)
• Now create a chamfer as shown below


• give the thickness of the EXT command along the roof

• Click on all the walls of the house and make one with UNION command

• Now in view SHADE> FLADE SHADE we set up to display the command 3DVIEW Ca = 0; [Toggle (angle from)] = -75; D = 10; Z = 50, set by the PA to shift the position of the image.

Now the house is so ......................................... Thank you
No comments:
Post a Comment